How To Make An LED Backlight For A Stained Glass Panel
Backlighting is a great way to display your stained glass as it creates an even and controlled environment both day and night. It eliminates the frustrating problems of inadequate natural light and unsightly objects behind.
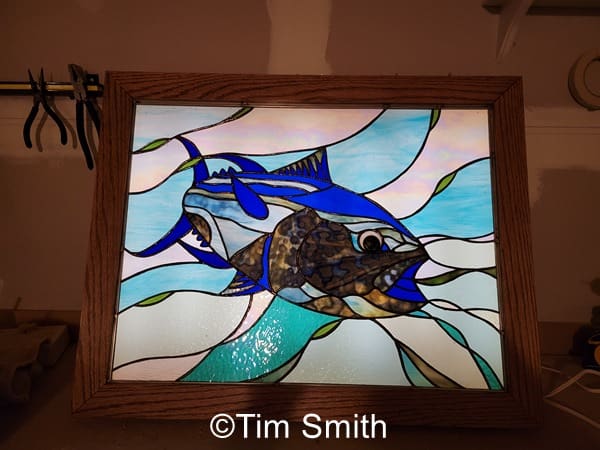
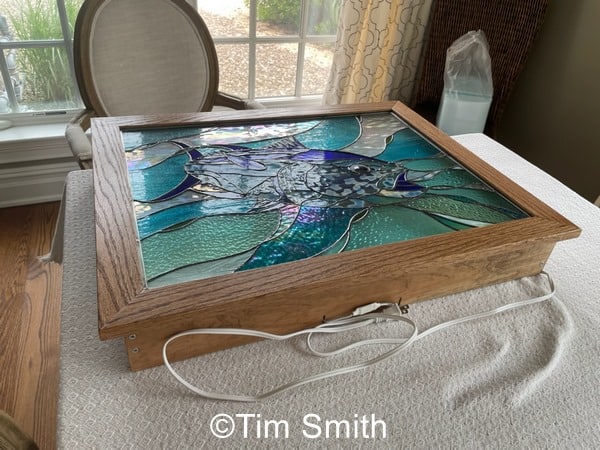
Tim Smith, one of my online students, has very kindly shared photos of his backlighting project. Thanks so much Tim 🙂
How To Backlight Stained Glass
What You Need
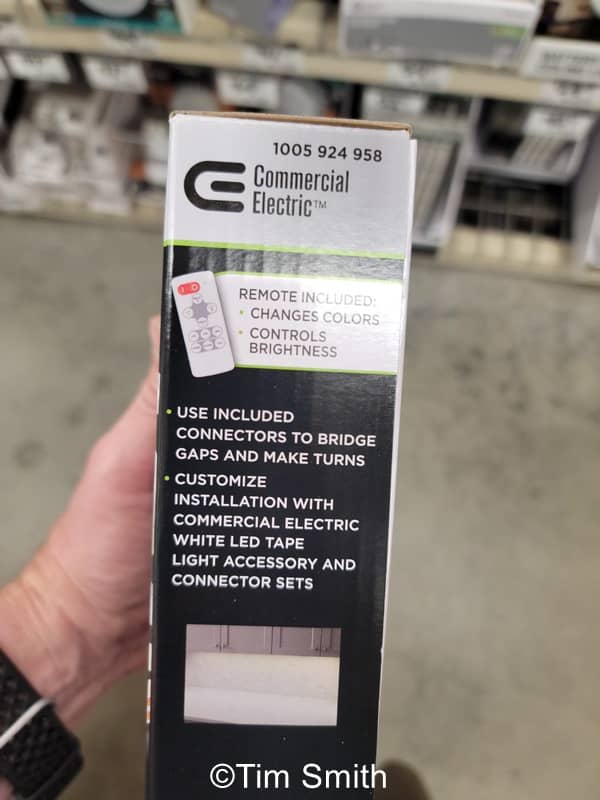
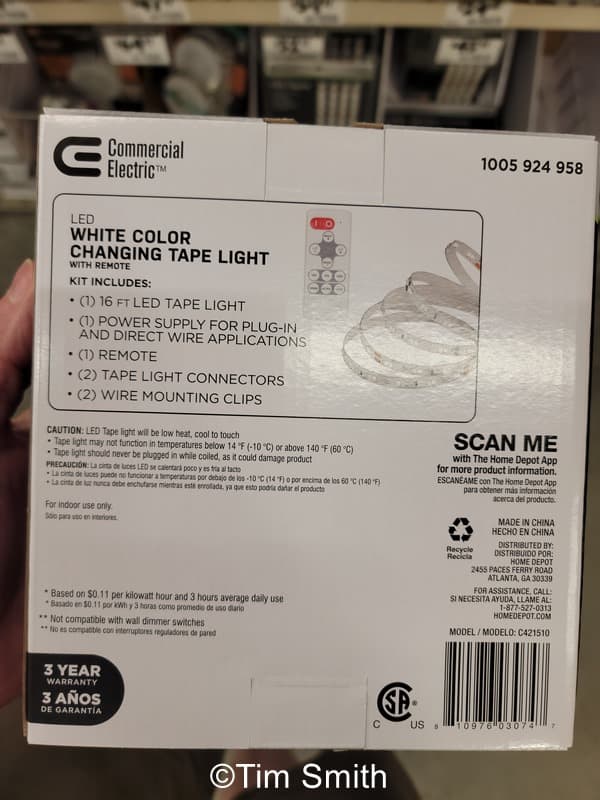
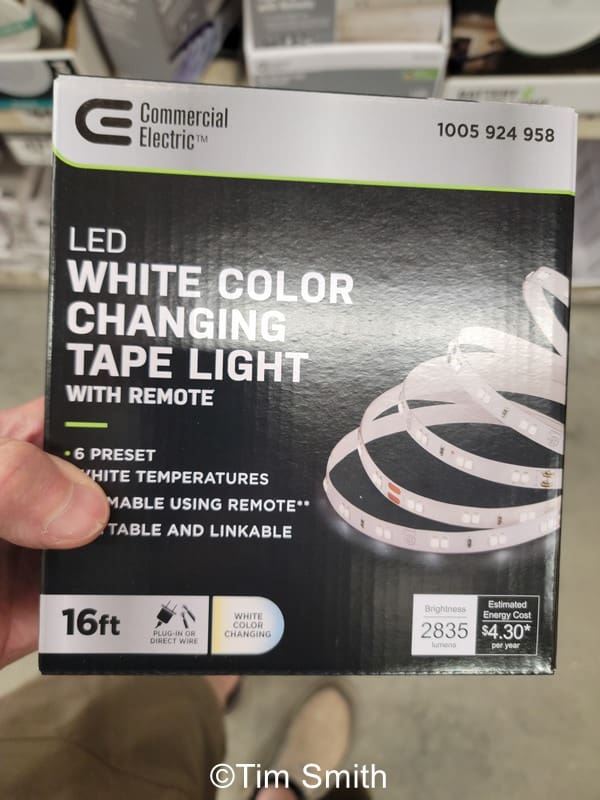
- LED light tape. Preferably dimmable with a remote. 16’ is a good standard length.
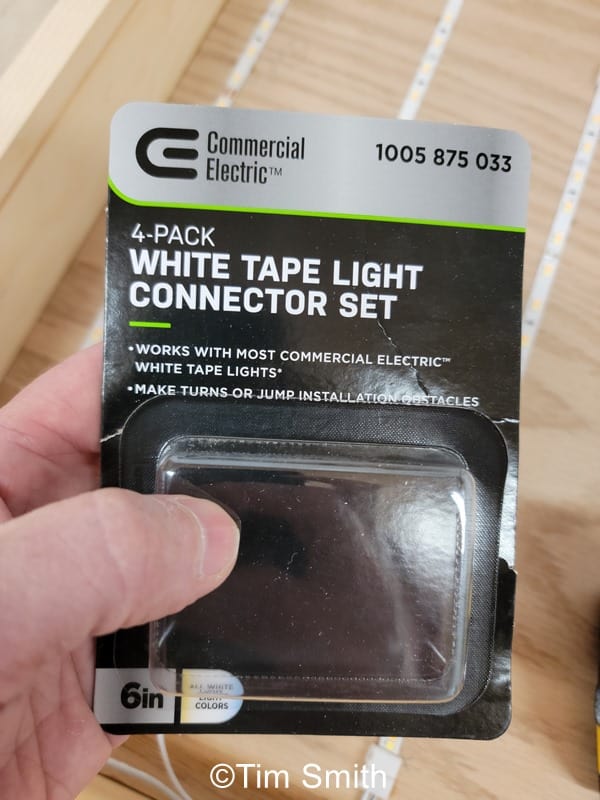
- Extra tape connectors
- 1/8” white acrylic (#7328) sheet for diffusing. #2447 will work too
- Appropriate wood for the frame
- 1″x 3″ pine and 1/4″ plywood for sides and back of the light box
- Angle brackets, various
- 2 piano hinges
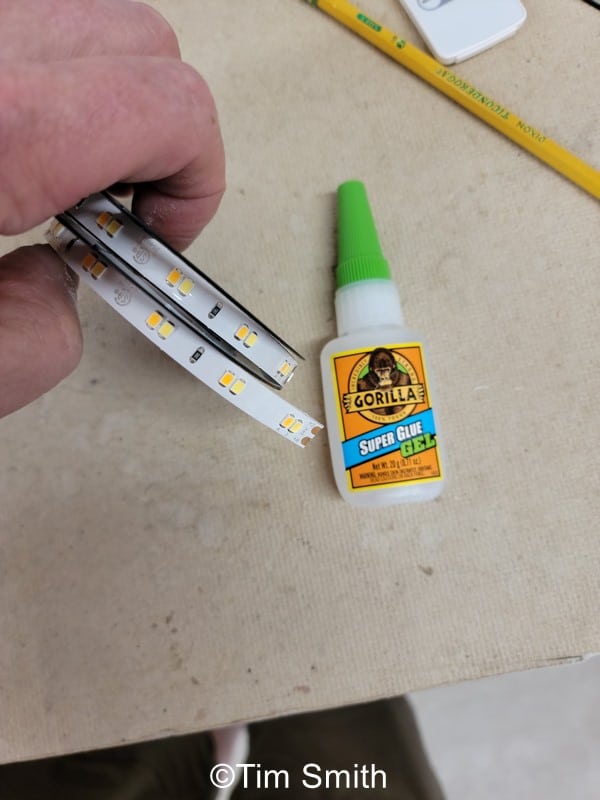
- Gorilla Glue – super glue, gel
Frame & Light Box Considerations
This tutorial doesn’t cover frame making per se but has a few main pointers to guide you:
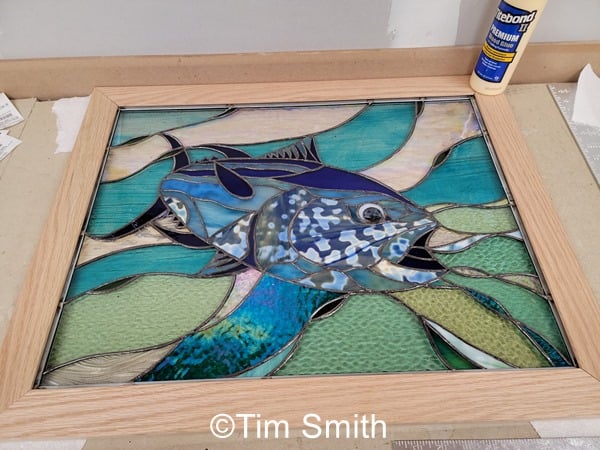
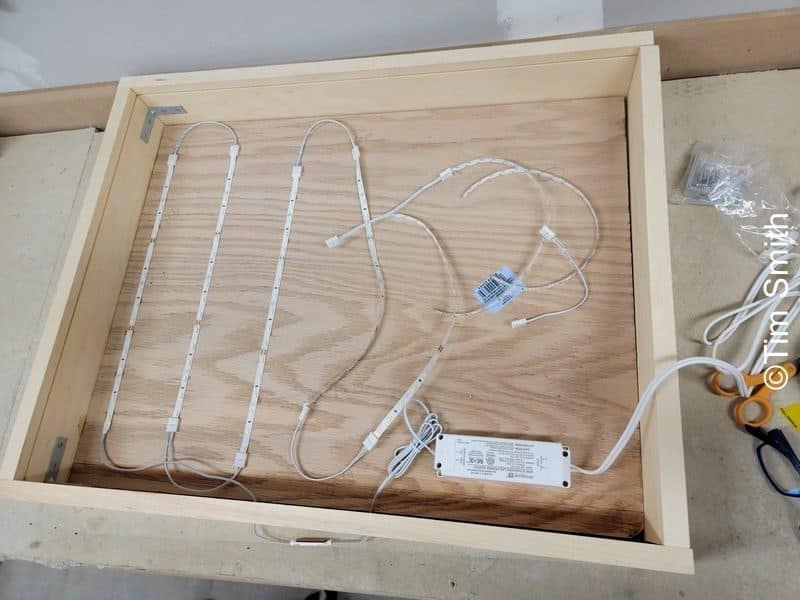
The panel is framed with 1″x3″ oak. It has a 5/16″ channel for the panel frame.
The inner dimension of the light box needs to be the same or slightly larger than the inner dimensions of the panel frame. The photo above shows the outer light box dimensions relative to the panel frame.
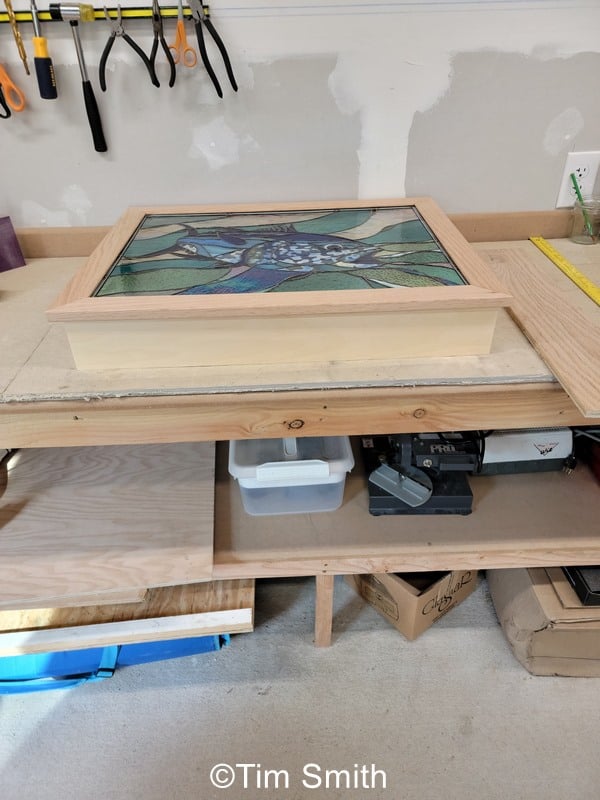
The box won’t be seen so don’t worry too much about ‘perfect’ construction. The most important thing is to make sure light doesn’t leak out from the back of the box.
Use a router to cut an 1/8″ channel around each side to accommodate the sheet of white acrylic (see image further down the page). This will act as a diffuser.
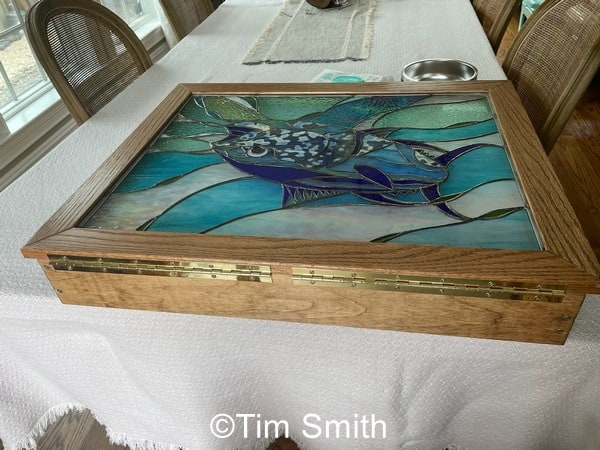
The framed stained glass is attached to the light box solely with 2 piano hinges. Any problems with the remote receiver, transformer or the tape, can be accessed by simply opening the frame.
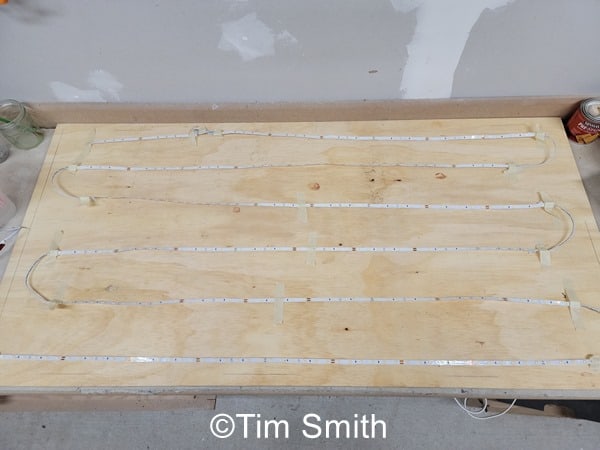
Arranging & Cutting The Tape Lights
Tape light can be cut where desired and connected to other pieces using “connectors.” These also helps the LED tape stay flat. For most projects you will likely need to buy extra connectors.
- Plan the cutting of the tape light, arranging it similar to the photo below
- Cut the tape light
- Use the connectors to enable you to loop back around
- Use masking tape to tape them down to check the fit
- IMPORTANT: Check the lights before you stick them down with glue. They will appear uneven if you switch the polarity at the connector.
- When you’re happy with the fit, glue the tape lights to the 1/4” plywood. Gorilla Glue gel is good for sticking the tape lighting to the back of the frame box. It’s less messy than the liquid but gloves are advised
Note the 1/8″ channel around each side of the frame box for the acrylic (L)
The transformer can be mounted inside the box as it generates little to no heat and is far neater.
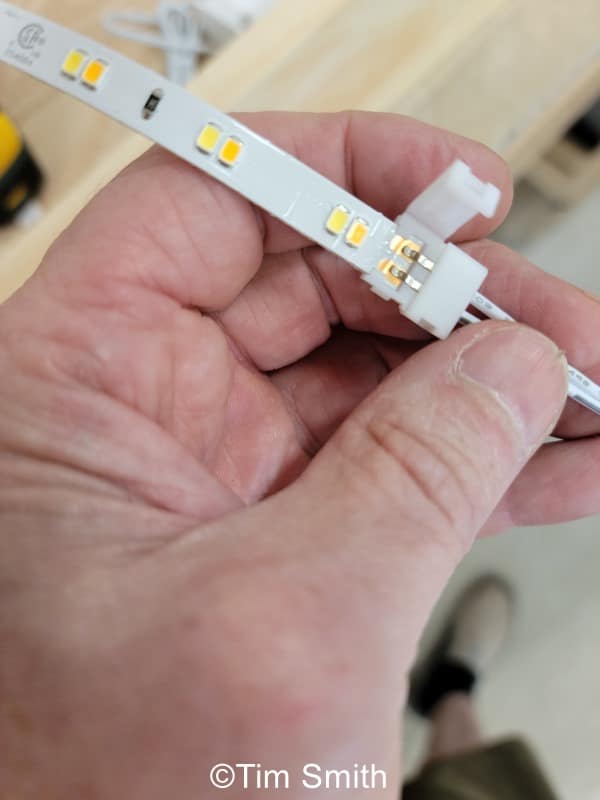
Connecting LED tape with connectors is easy, with one important proviso:
You MUST make sure the polarity of the connector wires and tape light are consistent throughout. This maintains even light coverage.
Remote Controller
To be 100% sure that the remote works, cut 2 small slots in the bottom of the frame so that the remote receiver can sit be outside of the frame box.
This prevents the risk of the remote not receiving a signal.
Don’t worry about visuals; the LED receiver can’t be seen when the panel is hung because the panel frame has larger external dimensions than the light box.
Assembling The Backlit Stained Glass
- Check the fit of the frame box with 3 sides loosely attached
- Once the fit is sorted, slide the acrylic diffuser into the 1/8” channel and screw in the bottom side to secure and finish the light box frame
- Don’t use glue or metal angles for this final piece. This makes changing the diffuser an easy procedure down the line if necessary.
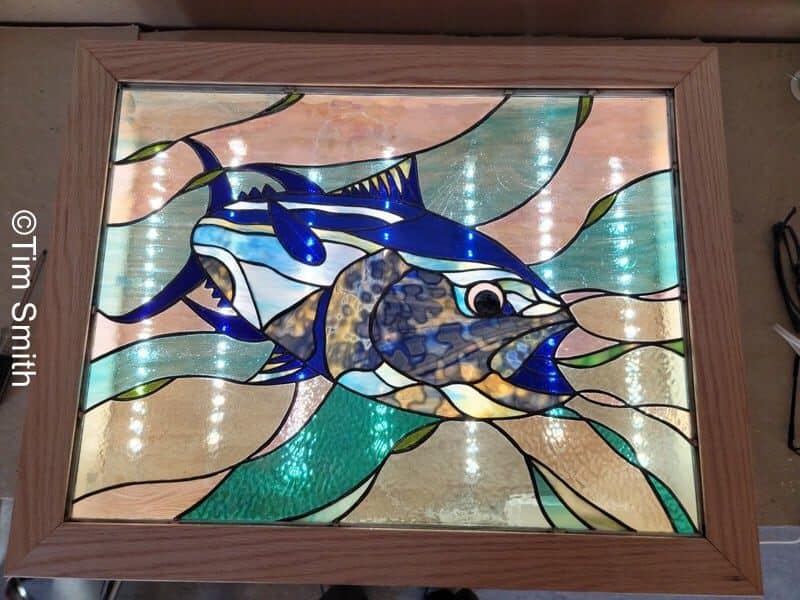
The first photo shows how important having an acrylic diffuser is. Without it the lights are visible and distracting.
A mini-video showing the effects of the dimmer switch. On the video, a discerning eye may notice the led lights through the diffuser. In person one can’t see this effect. The whole panel is stunning, made even more so by the professional backlighting. Thanks again Tim 🙂
Alternative Approach To Backlighting Stained Glass
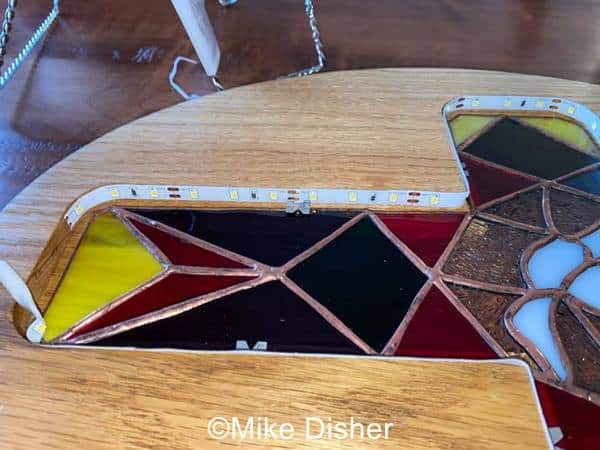
Online student Mike Disher used a different – but equally effective – method for his stained glass backlight.
He purchased LED strip lights from Amazon.*paid link, thanks. They are dimmable and adhesive.
The LED strips were simply stuck around the inside edge of the routed shape that made up his frame (see photo, below)
There would need to be a small routed channel made for the wire to exit the frame.
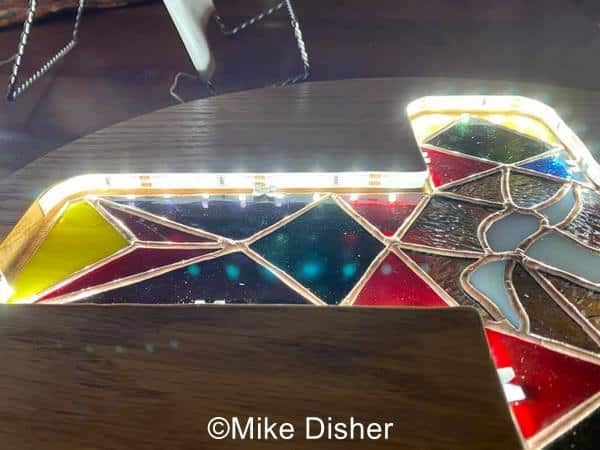
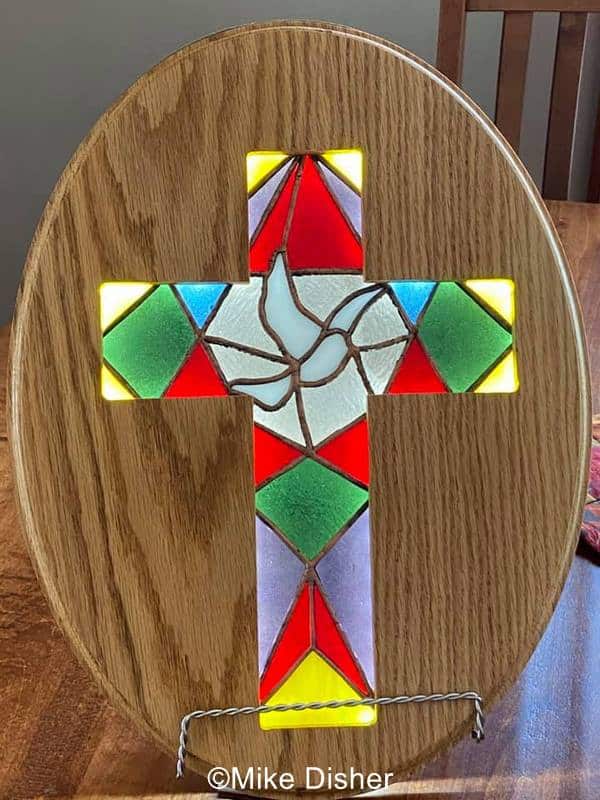
Thanks Mike, this is not only a fabulous piece, it’s a really effective solution.
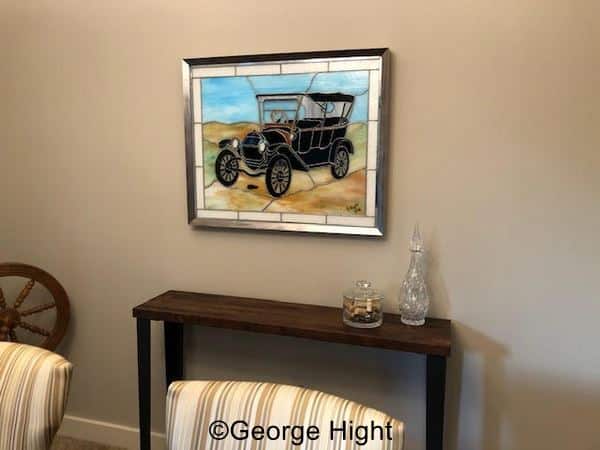
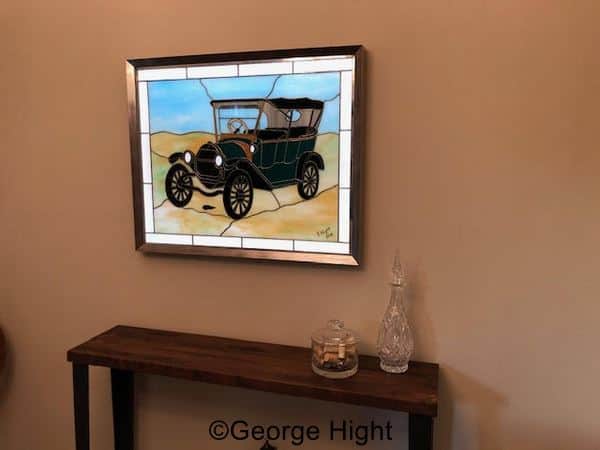
George Hight uses ‘Wall Hung PhotoGlows’ to backlight his stained glass. They’re LED backlit sheets (for want of a better description). They’re dimmable You can check them out here: https://photoglow.com/product-category/wall-hung/
You can see them in action in George’s commission here. The wiring was done professionally so that they could be controlled with a wall switch with no wires exposed. Posh eh? They look great, thanks George.
The Pros And Cons Of Backlit Stained Glass
Pros
- Backlighting is a great solution for specific lighting situations, for example wall pieces, night lighting, to add a light source to a room and to obscure ugly objects.
- With the right kit it allows for customisation options such as colour temperature control and motion detection. Imagine a stained glass panel that comes on automatically when you enter a room 🙂
- The illumination provided by LED backlit stained glass can be bright and vibrant which can enhance the details of the glass work.
Cons
- Where it doesn’t work so well is showing off the beautiful variations in both glass and light. These are the elements we love so much as stained glass artists, and backlighting – or more specifically the white acrylic diffuser – can deaden their effect if not used carefully.
You can try mitigating this by choosing a less dense acrylic if you work with semi-opaque glass. The opacity will do some of the work of diffusing the light source on its own. - The cost of creating backlit stained glass is higher than traditional stained glass simply due to the additional materials needed.
- Installation may be more complicated due to electrical wiring requirements. Although the electronics are a bit bulky, batteries can cause problems with noise and access when you try to replace them.
- Replacement parts for specialised fixtures may be difficult to find in the future.
My husband is building a light box for a very large piece I made. Can you tell me which is the best type of light? There are so many choices, i.e. yellow, white, daylight etc. I have played with a portable light box I have but it is hard to tell with the light spilling out above the piece. The glass is beautiful, a mix of semi opaque and transparent…mostly the semi opaque. Thank you!
It really depends on what sort of aesthetic you want Nancy – for example is the subject of your glass calling for a cooler light (an Artic scene) or a warmer light (indoor around a fire scene). You get the idea. You can ask the shop to show you the different lights.
Good luck with your light box, it sounds great.
thank you so much for this wonderful presentation! This post is a couple years old, but I hope you will see my question.
I have a beautiful, large stained glass window inset into the outside wall of my house. Access is difficult. It was always my intention to backlight in, but we ran out of $ ;). Still have the $ issue, but wondering if there is an inexpensive way to do this without removing the window?
Any suggestions most welcome.
Can send a photo
Thankyou and your commentators
It’s difficult on the outside Virginia. Also difficult without seeing the situation. Off the top of my head I’m wondering about solar powered lights around the perimeter but no idea if that’s practical. Sorry I can’t help with this question.
My son-in-law made a frame for a window I built for them and he used the lighting strips you mention but decided to use a remote control device so there is no power cord. They are able to control various light colors and intensity. Just wanted to mention the remote control device which makes it very simple. Love your window, too !! Jim
In the market (in canada and USA, elsewhere ?) you can buy a quart LED panel used for suspended ceiling 2 x2 feet or 2×4 feet . I Made a stained glass panel 2×2 feet as light source, the light is uniform I made a wood frame to fit bot stained glass and LED panel total thickness is 1 5/8 inch. Easy way to light .
Good luck
Thanks for this Clement, very interesting.
I do wood working so I build a box without a diffuser. Let me walk you through it.
First is a grove for the glass. I set that about 1/4 back from the front.
1/4 back from that is a v grove about 5/8 deep.
Finally, there is a dado about 3/8 in deep on the back.
The last piece is 1/4 in piece of backboard.
Everything behind the glass is painted white.
The LED strip lights are attached to the fount of the v. The v hides the LED lights and allows for the light to point back. The light reflects off all the white and exits out the front.
I put a hole in the bottom to get the power in. With that a wire runs out the bottom. I use an usb extender cable and hide that in wall cable hiders. I then put the control unit at the bottom so it less visible.
I post a picture of a cross section later today.
This is fantastic Stephen, thanks so much for taking the time to write all that out. So helpful for my readers (and me, you should’ve seen the carnage when I tried to teach my face-to-face class on making a frame LOL) I’m so bad at wood…
This is fantastic! I have a beautiful piece that I’d like to display but it doesn’t fit any of the windows in my new house. Now I can mount it on a wall in my dining room and have both beauty and diffuse light.
thanks so much. I love your posts and all the sharing.
Wanda
Ah, that’s so great to hear Wanda, thanks for taking the time to post.
I wanted to make an upright stand and then put lights in the back. What would you suggest using?
LED? It’s tricky without knowing the set up but you can experiment with various light sources and choose. Be aware that a big bulb type light will cause an unsightly ‘light spot’. Good luck.
Milly,
Great ideas here. We have 3 old church windows 28”square. There are a few bb holes in them and would like to backlight them. Cost to repair was too expensive. Any ideas on how to backlight without having a beacon of light piercing through?
Tricky without seeing but you could try and cut out a bit of semi-opaque acrylic and attach it to the back of the piece with the hole so that the backlighting doesn’t pierce through so much. It’ll still read as white though. Perhaps a matching coloured acrylic? Just thoughts – you’d have to assess and see if any of these ideas are pracical. Good luck.
Thank you Tim Smith for sharing ideas on how to lite up a panel, so kind of you to share.
Sandi
🙂
Thanks for another twist, Milly! Mike’s made-by-router frame is amazing. I would love to see how he got the glass to stay in place. It doesn’t look like there are any clips or braces.
I’m sure they’re there Vicki. Panel pins or somesuch thing.