The Missing Know-How
When you first learn how to make stained glass you grasp the basics quickly but as time goes on there are many questions you’re not sure about. These missing pieces in your skill set nag away at you and stop you improving.
You know the ones I mean, this type of question:
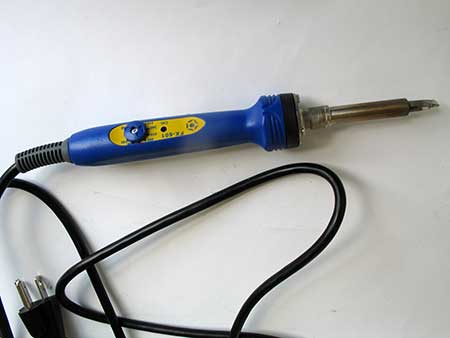
What temperature should I use for better stained glass soldering?
How do I stop my panel growing and growing and get a perfect fit?
What’s the best way to hang a panel neatly and securely?
My mission at Everything Stained Glass is to fill in these missing pieces of knowledge for you. To help you round off your skills and make better stained glass.
I’m Milly Frances, long-time stained glass artist and instructor. I’m here to share all the stained glass making ’stuff’ that’s hard to find on the web and not covered on YouTube.
Along with a range of proven online classes, I offer a selection of FREE videos and tutorials giving beginners and improvers the itty bitty pieces of knowledge needed to make stained glass.
It’s time to fill the gaps in your knowledge and improve your skills.
How to Make Stained Glass Tutorials
Step-by-step Tiffany-style
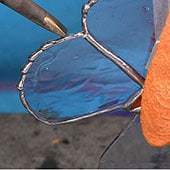
Learning how to make stained glass is easier if you take one step at a time. These Copper Foil Tutorials guide you through each process starting at the beginning with designing tips and pattern ideas.
By the time you get to the final patina and polish tutorial, you’ll be an expert too!
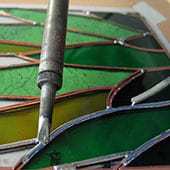
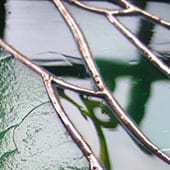
Decorative Soldering
Add a special ‘something’ to your gifts with this gorgeous decorative soldered edge. For more experienced learners looking for a challenge!
Patina and Polish
The final stage. Polish your stained glass panel until it sparkles! With information on which type of patina to use and how to stop that ugly white residue building up. Includes video.
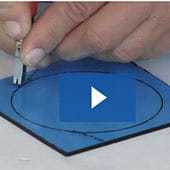
Cutting Glass Circles
Watch this video to learn how to cut a perfect circle using just a cutter and grozer/breaker pliers.
Best Stained Glass Tools
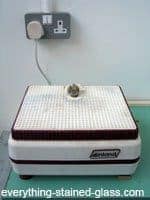
Grinder Reviews
Cut down on waste and achieve precision fits with a stained glass grinder. Discover which grinder comes out top for value and quality.
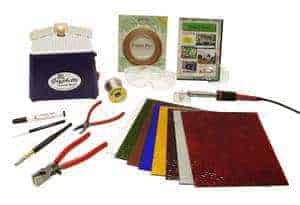
Stained Glass Kits
You might choose to buy a ready-made kit instead of selecting the tools individually. Make sure the high quality stained glass kit you choose contains everything you need.
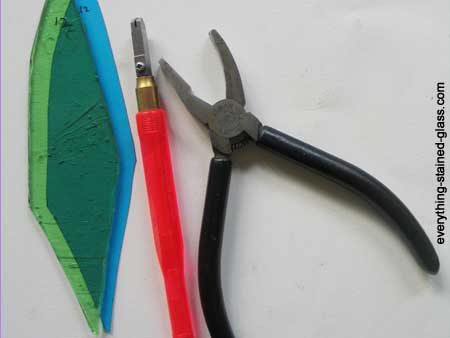
A Look at Glass Cutters
Enjoy cutting stained glass and reduce breakage by choosing the best glass cutter.
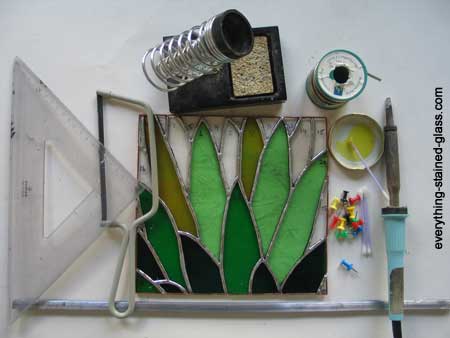
All the Stained Glass Tools You Need
Choosing stained glass tools is one of the real pleasures of stained glass. But what if you’re not sure which tools you actually need and which ones to buy?
Here’s where you’ll find reviews and recommendations to help you choose the best essential tools that will last for years to come.
Sharing Stained Glass Gems
Over 20 years ago I was missing a creative spark in my life and it was stained glass that helped me find it. I took a couple of short courses and was immediately smitten.
As I deepened my experience and skills I realized it was the little bits of missing information that helped me make stained glass I was truly proud of. Those hard-to-find answers that aren’t easily found on the web.
And where does this leave you?
Scooping up all the bits of missing information and improving your stained glass making, that’s where! I hope you’ll find many small gems that help you make stained glass to be truly proud of.
Quick Links:
Stained Glass Tools and Equipment
Cutting Stained Glass Tutorials

I’m Milly Frances (MA Masters in Glass: Distinction, PGCE Post Graduate Certificate in Education). I’ve been working with stained glass for over – yikes! – 25 years now, both as a professional artist and as a trained teacher. I savour those moments when my students suddenly start improving and realising what they’re REALLY capable of. I also enjoy playing 5-a side football (badly).