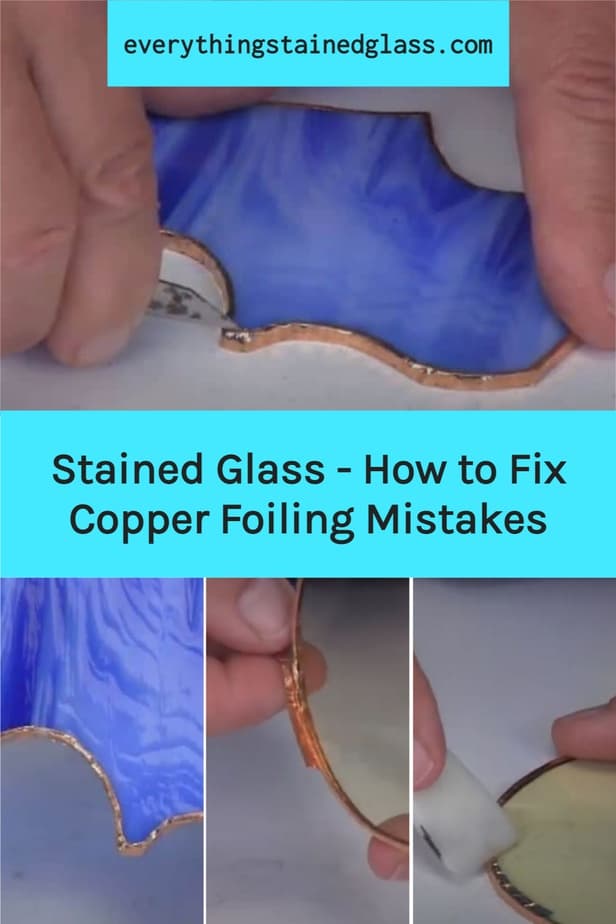
Stained Glass Foiling – Fixing Common Copper Foil Errors
This video goes through two of the most common stained glass foiling mistakes.
- looks at what you can do when the copper foil isn’t centred properly leaving a wider margin on one side than the other.
- gives you some suggestions for when your copper foiling is untidy and irregular.
1. Fixes For When Your Copper Foil Isn’t Centred
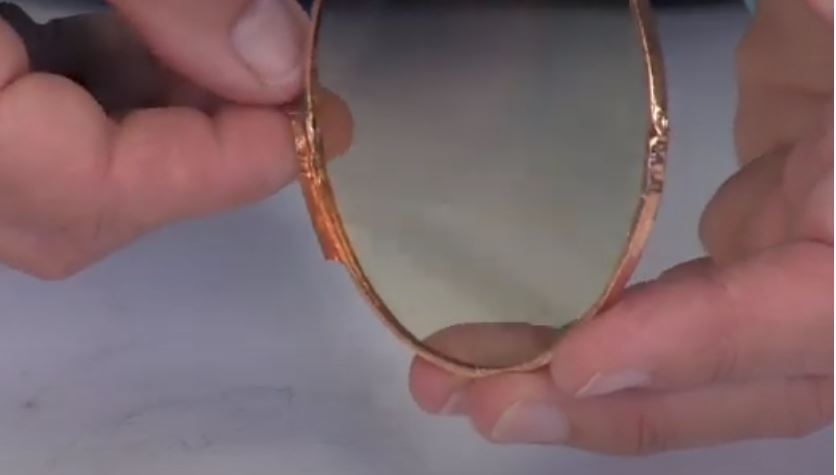
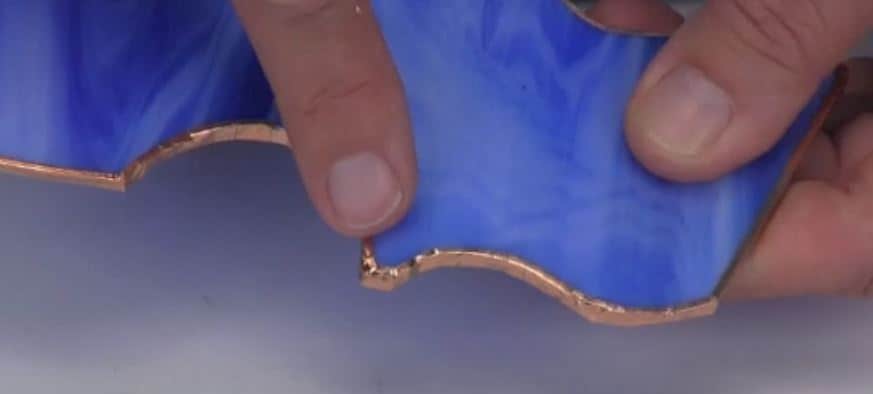
If you don’t centre the copper foil properly on the edge of the glass, you get a very thin strip of foil on one side and a a very thick strip on the other. This is particularly annoying with transparent glass because you can see the other side of the foil.
[00:33]
Step By Step Instructions
- cut a length of copper foil at least as long as the mistake you’ve made
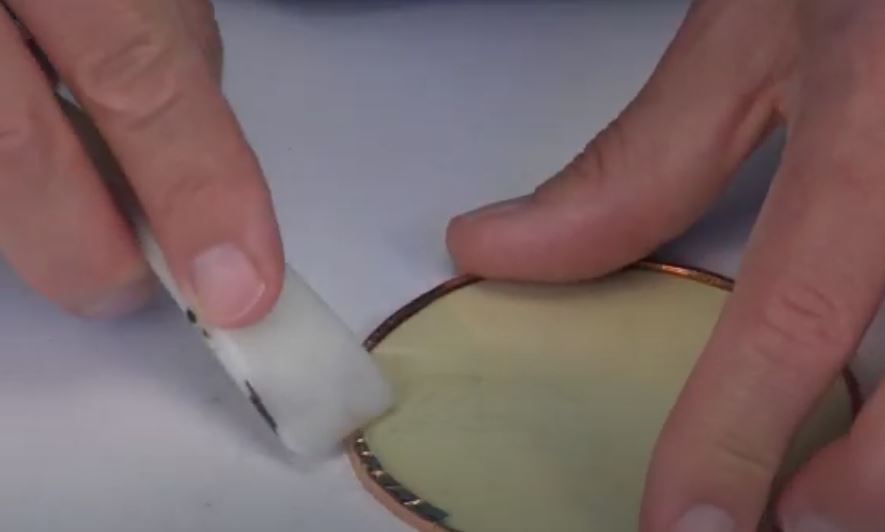
- stick it along the edge over the area where you’ve not foiled centrally. This time bias the foil deliberately the other way so that it covers the thin bit of off-centre tape
- crimp and burnish as normal. This helps the foil stick when you trim it with the craft knife
[01:16]
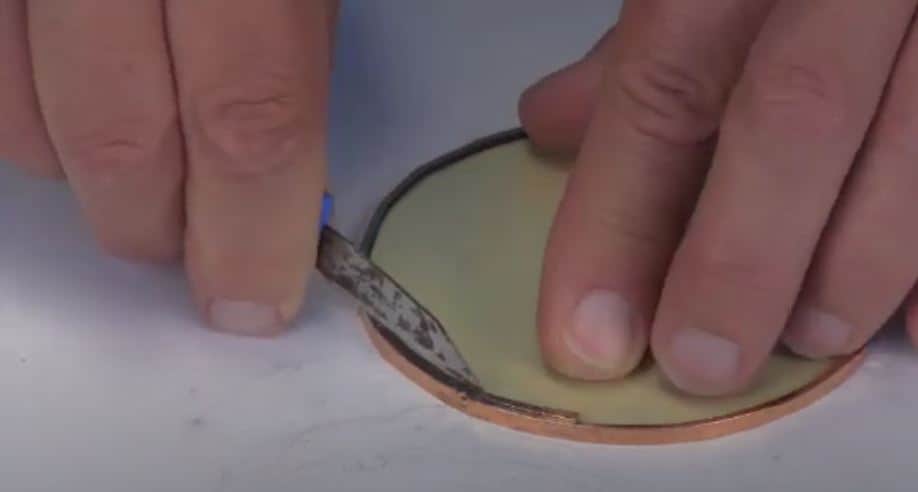
- trim the foil using a new or very sharp craft knife. Mine looks rusty but the blade is actually brand new! Move slowly and carefully with your finger steadying the knife blade so that your whole hand is moving around with the blade little bit by little bit
- don’t have the knife blades waggling around with nothing to support it, because you won’t get a smooth foiled line
[01:50]
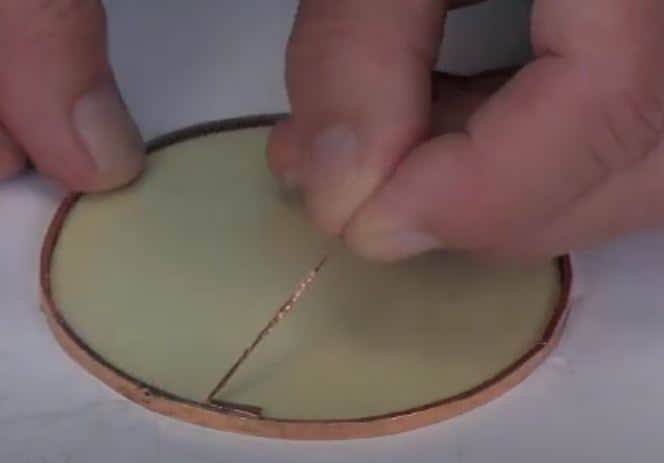
- pull off the excess carefully
- now check the other side and do the same thing on this side, matching the foil up front and back so that when you look through the transparent glass, you don’t see copper on one side and not the other
- remove the excess, as you did last time
[02:34]
Why Bother?!
This IS a little bit fiddly to do but because the solder only sticks to the foil, the more accurate and the neater your stained glass foiling is, the better your soldering lines and your end result will be.
So in my view it’s really worth spending it just a little bit of time tidying up these edges and making sure they’re as good as you can get them. You’ll see that it really does make a difference, a lovely, perfect circle instead of a wonky one!
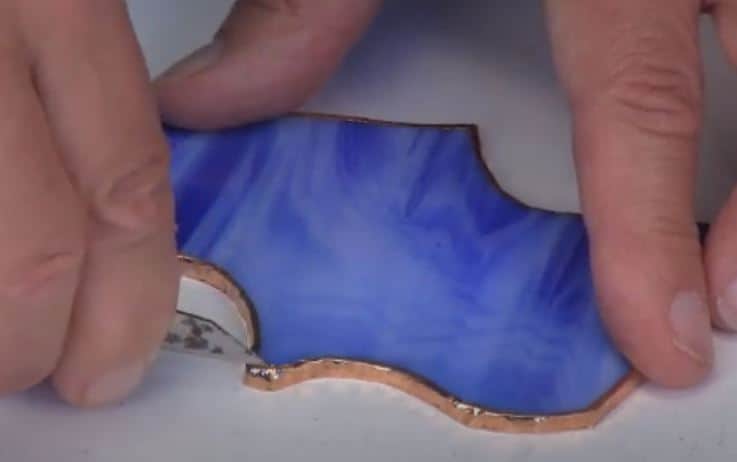
2. How To Fix Stained Glass Foil That Isn’t Straight
When your cutting has an uneven edge the stained glass foil goes on off kilter.
[03:36]
In this case it’s making the foil angular when what you want is a nice, smooth little curve.
- to fix it, use the exact same principle as with the circle above but because it’s a much tighter curve, make smaller increments with the craft knife.
- move your fingers around a tiny little bit at a time
- you can also move the glass rather than the blade for these tiny adjustments
- each time you make a cut, make sure that your finger is resting on the work surface for safety
- finally, pick that tiny bit of excess away.
[04:15]
Conclusion
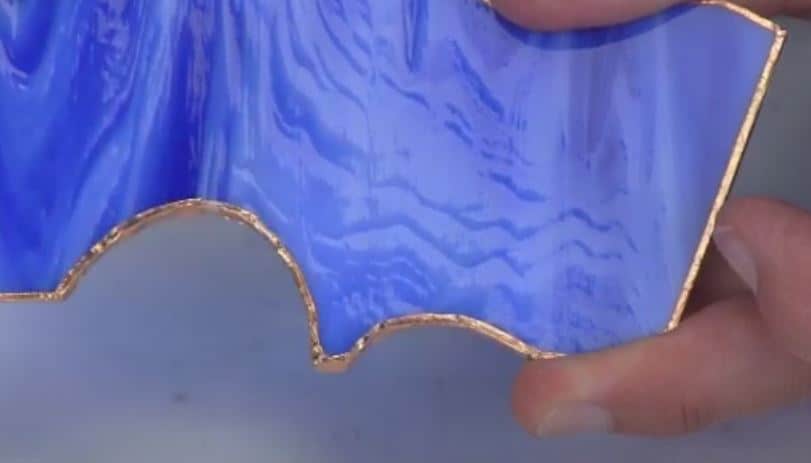
This is how to rescue an angular misshapen corner and make it smooth and rounded. Fit to show off your soldering!
You can use the same technique in any situation with stained glass foiling when you when you’re not happy with the line that you have. Remember, the neatness of your foil equates to the neatness of your solder line. It’s best to touch and tidy up any of those annoying little corners or edges that just don’t look quite right.
Don’t be one of those people who looks at your finished piece and feels a bit disappointed. Take that extra minute to trim your foil. You know you’ll regret it if you don’t 🙂
If you’re new to stained glass or coming back to it after a break and can’t quite remember ALL the steps, there are many tips and tricks you can learn to make it easier for yourself.
My online Stained Glass Made Perfect course has helped many beginners and refreshers nail the essential techniques and go on to find success with more ambitious projects. The course is self-paced and online so you can learn these techniques even if you can’t easily get to a class. You can find out more about it here Stained Glass Made Perfect.
Hi, I love your website and find myself on here a lot. I’m trying to get back into making stained glass but my problem is with hand strain and pain. I’m looking at each step to see what tools might help reduce strain as much as possible so I can still enjoy my hobby. I’m looking at investing in a table foiler, specifically the one Delphi glass makes, but it a lot of mixed reviews. Even video reviews are mixed. At nearly $100 I’m hesitant to purchase it as several say they have not been able to return it once it’s open. Do you have any suggestions or input on the foiler tools to help with hand strain?
I have to confess that I don’t use foiling machines but I have only tried a couple. The one that always floats to the top when those I trust recommend is the Diegel foiler *paid link. Apparently it’s good for hand pressure as, although you have to use both hands, it’s more of an open-handed grip and the pressure you apply is as you pull the glass on the guide roller while keeping the smooth side against the guide pin.
I hope this helps, they’re not cheap as you say.
I have recommended this video on our stained glass newsletter. Your demonstration of fixing copper foil is very precise and I think our subscribers will find it worthwhile and informative. Lately I’ve noticed that there are several more channels on Youtube posting about stained glass. Some are very good, but others are beginners that don’t know much and give poor instruction. I’m so happy that are one of those with experience and expertise. Thanks so much for your great work!
That’s very kind of you to say David, thanks. You too are up there with the expert and experienced of course 🙂
Je suis française et ai découvert votre site qui me rends beaucoup service dans mon parcours de vitrail amateur; la traduction automatique est parfois un peu bizarre, mais j’arrive à comprendre.
Merci de vos conseils en espérant que la traduction de mon message sera meilleure
Ou êtes vous ? canadien ? américain? je n’ai pas trouvé votre localisation
Colette FRANCE
Bonjour Colette, je suis content que vous puissiez déchiffrer mon site Web avec la traduction.
Je reçois lentement des sous-titres en français et en espagnol sur mes vidéos, ce qui pourrait vous aider davantage.
Bonne chance avec votre vitrail 🙂
Hello Colette, I’m glad you can decipher my website with the translation.
I’m slowly getting French and Spanish subtitles on my videos which might help you further.
Good luck with your stained glass 🙂
Yes, those mistakes happen and many (including myself) tend to neglect them, thank you for pointing those out and showing the remedy.
Alternatively one can remove the untidy section by knife and repeat foiling properly.
Few other tips I found very practical:
1. When working with small pieces like cabochons use a plaster with dressing on the thumb and pointing finger of your left hand (for the right-handed). This allows holding the piece securely and prevents fingers from burns.
2. For burnishing the foil I use a flexible/semi rigid plastic (4 cm x 6 cm, 2 mm – 2.5 mm thick polyethylene – one can find it elsewhere) which is particularly useful on uneven or decorative glass surfaces.
3. When assembling corners of a glass box, I solder a copper wire first in order to prevent leaking solder through the gap and saving some solder too.
4. For cutting the copper foil while foiling I use a knife, which I found much more handy then scissors.
Some fabulous tips and tricks here Janusz, thanks so much for taking the time to share them.
What weight or size is the copper wire?
Milly, I love all your tips. Thanks so much for sharing. You do beautiful work.
Thank you Annette, that’s kind of you to say so 🙂
Hi Milly, thank you for so many helpful tips. The best for me, and most recent one was how to tidy up foil corners. If I had known this years ago my little angels would have been even more angelic!
Lots of inspiration, tips and guidance have landed in my email in Hong Kong over the years and I thank you for it all.
Wishing you a very successful year of the Chinese Ox and looking forward to more interesting and informative info from you.
Best wishes, anne
Thank you Anne from Hong Kong 🙂 I’m an Ox, in more ways than one LOL!
I’m very happy to hear that you have enjoyed my newsletters over the years, thanks for letting me know.
exellent help
i use this nmethod
and I am near to send you some picture
maybe put a video to show howto
because jsut in text it is no evident to untherstand howto make the vertical strip
thank for french tranlation in text
jack 47 71
quebec
Great advice I will follow more often!
I tend to make small pieces (lots of scrap glass) but when I foil small rounded edges, my foil often looks split in two or three places. It’s the part sticking flat on the face of the glass with little splits perpendicular to the edges. Very obvious once they are soldered…at least to me!
I will try the cutting method in the video , but this will reduced the amount of foil on those curves. Is there a way to do things differently when I am foiling? It only happen on small curves, on the outside curve.
Thanks, Milly!
They are visible when soldered, unfortunately. You can use tabs of tape perpendicular to the edge of the glass – like a sticking plaster around the edge and then trim.