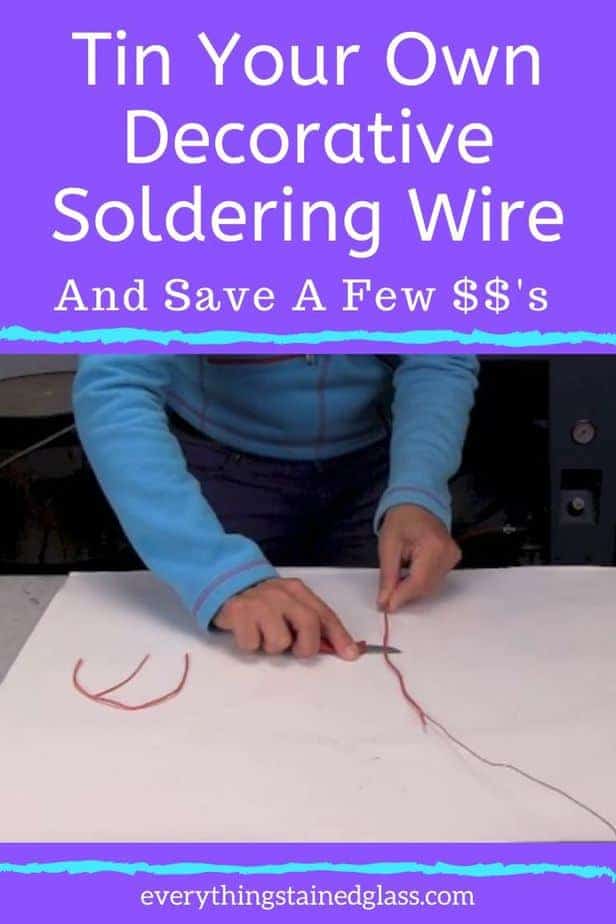
Tinning copper wire for stained glass gives you options of adding decorative wire details to your work. If you’re interested in doing this – and why wouldn’t you be, they’re lovely! – you can save money by making your own tinned wire. This video shows you how to strip the plastic from electrical wire and tin (coat) it with a layer of solder.
The reason we tin wire for stained glass is so that it will take the patina and you can match it to the patina in your project.
Wire Gauges
Wire comes in different gauges or thicknesses. The smaller the gauge number, the thicker the wire, which for me seems the wrong way round! You have to choose the correct size for the application.
This will give you some idea of the different widths and what to use them for:
14-18 gauge is the range for most stained glass projects. #14 gauge is good for hanging and #18 for more decorative stained glass work.
There’s always room for pushing the boundaries – if you want to do something very delicate like cat’s whiskers you could go even thinner – say #22. Tinning this thin wire is difficult as it’s so thin so you might want to use this just as it is. Something a bit thicker – like a straight flower stem – could be #12 wire.
Tinned Copper Wire
Pre-tinned wire is wire covered with a coating of solder. You can make it cheaply by buying copper wire or even cheaper by recycling electrical wire.
Stripping Electrical Wire
- Find about 1m long electrical wire with the correct gauge
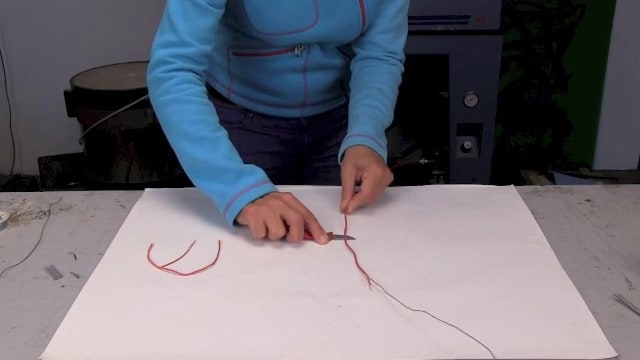
- Strip the plastic casing off. If you have a wire stripper, great! But if not you can use a utility knife. It’s important for safety reasons that you always do this away from you and not towards you.
- The trick is to leave the knife in the same position and pull the wire towards you. Put the knife nearly on the workbench, hold it steady and pull the wire slowly towards you. This removes the plastic coating. Do it in stages.
- When you get close to the end pull the remainder off.
Straightening The Wire
Once you’ve rescued your copper wire you need to straighten it.
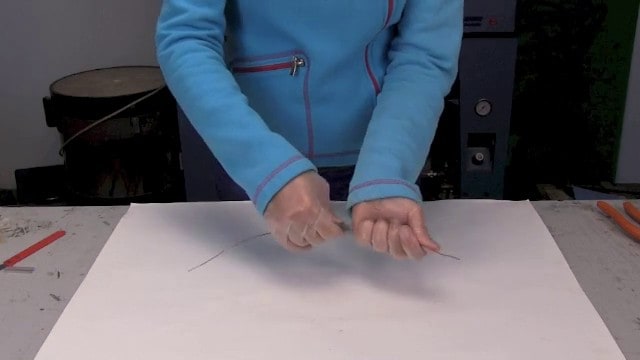
- Get a pair of pliers and a very thick cloth or towel
- Grasp the wire tightly through the towel and pull the kinked wire 2 or 3 times through. This straightens out all the kinks in it
- Lastly, clean it off with some damp steel wool to make it accept the solder better. Don’t forget your mask and your gloves for this as the little bits of steel will get everywhere.
Tinning Copper Wire Instructions
Now for tinning copper wire for stained glass!
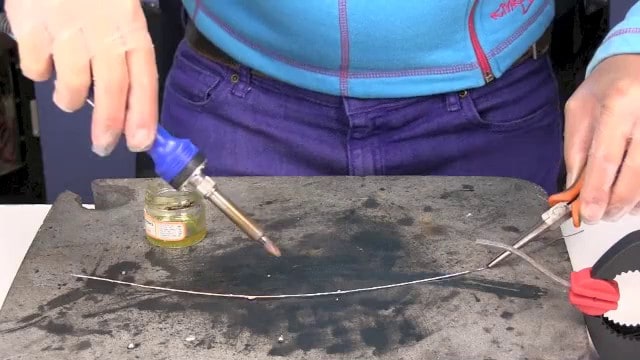
- Coat the wire with flux using a sponge because it covers the wire nicely. The flux gives it an additional clean and allows it to take the solder.
- Make sure that you cover all of the wire.
- Pick up a blob of solder or put some solder on your iron tip and move the iron along the wire, covering the wire with solder.
- When you get the hang of tinning copper wire you can keep the iron still and pull the wire under it, coating as it goes.
- Make sure you cover the whole of the wire.
- When it’s all covered remove any rough bits gently with steel wool and you’re done.
- Don’t hold the wool too tight because you can remove the solder and end up with copper again if you’re too vicious with it.
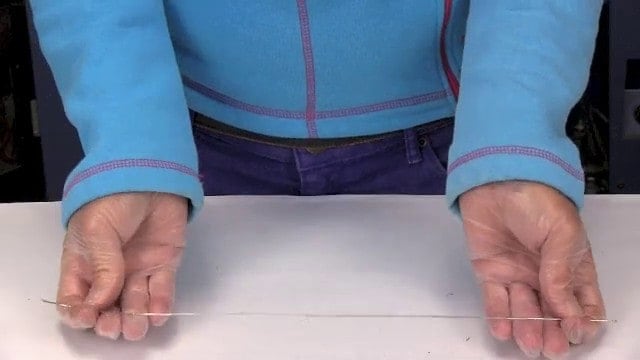
That’s it! You’ve created your very own tinned wire, exactly the same as the wire you buy in shops. You can use it to add decorative detail to your projects or for hanging sun catchers.
More Resources
Explore how wire work can add to your decorative soldering for stained glass with these ideas here.
Try out decorative soldering to go with your wire work here
I’m very new to stained glass and your posts have been a lifesaver! This has been the only resource I’ve been able to find that goes into detailed on what type of wire I can use and how to work with it. Thank you for your tips and tricks!
That’s lovely to read Tori, thanks so much 🙂
I have lots more tips in your inbox with my newsletter if you want to sign up: https://everythingstainedglass.com/dazzle
Good luck with your stained glass.
Where can I get thin copper wire (rods) to use as stems for stained glass plant decorations?
Welding rods come in all diameters Patty and are a good source of rods.
After reading your tips I now have a use for all the wire hangers I’ve been getting from the laundromat despite my pleas to stop using them. I’m going to start going thru your emails more thoroughly! Thanks
That’s funny Karen. Good to know you will now be – er, hanging! – off my every word 😉
Is there a trick to soldering the tin wire to say, a stained glass petal, to create a stem?
You can twist thin brazing rods or wire together (vice and drill) or use old wire coat hangers. No special trick for soldering, apart from using the tip of the iron more vertically so that the heat is more directed and controllable.
I hope that helps.
What type of wire would one use for a garden stake, or plant stake?
Hi Jim, it depends what the project is. 14-16 are the most usual choices. Use tinned copper or brass wire.
Hello Molly,
Thank you for all the amazing information that you’ve put up and the emails I receive regularly.
Which is the correct thickness of the wire to be used around the hoop for making a stained glass wreath? Any other important thing to keep in mind? Thanks.
The wire gauge has to match the weight of the piece so it’s hard to be specific. 14 or 16 at a guess.
Glad you like the emails, thanks 🙂
I just thought I would pass along the wire gauge/size matter. Yes, it is counterintuitive that a 10 gauge wire is much thicker than an 18 gauge wire. What the number represents is how many times the wire is pulled through a die. The more dies it passes through, the higher gauge number and the thinner the diameter.
Thank you Ira, that’s very helpful! Now I know it makes sense 🙂
I straighten copper wire by placing one end in a vice and the other end in the jaws of an electric drill. Slowly rotate the drill and the wire will become absolutely straight.
Fantastic tip Mark, thanks so much for posting 🙂
I have a tip for straightening heavier copper wire. It works almost like magic. Clamp one end of the wire securely in a vice, secure the other end in an electric drill. Pull back slightly and run the drill. Your wire will be perfectly straight!
You can also double the wire to twist it using the same procedure. Try it!
Brilliant Terry, thanks so much for sharing this idea 🙂
Milly. Thanks for all the useful advice for using wire that might otherwise be thrown away. I actually have a lot of different electrical wires that came from home projects. They are ready and waiting in my glass shop for the day that I need them.
That’s good news Gail – anything that saves a few $$ and recycles at the same time has to be good in my book.
Thanks, Milly. Any tips on coating rings I made by following your instructions? They always end up with uneven spots, or a solid solder center! Not good for hanging! I use needle nose pliers to hold them and it is very fiddlely .
You can make the rings with the tinned wire Vicki 🙂
I enjoy receiving your tips. It takes my mind off of all that is going on in the world and puts me in my happy place. Your tips are easy to understand and very informative. Thank you for doing this.
Oh that’s nice to read David, thanks for taking the time to post it.
Once again you have come to the rescue of my “junk” pile! In adding a large addition to our home we’ve had to add all new electrical so of course we have tons of pieces left over. My husband and I sat down and stripped every one of them and put them in a box for my crafts, not knowing what I was going to do with them. Now I know!!! Yahoo to you for reading my mind lol!
Hello Pati! Great to hear I’m still on track with the mind-reading 🙂 I’m glad it’s useful info and came at the right time for you.