Stained Glass Cutting Techniques – 2 Ways to Cut Straight Lines
People actually have quite a lot of trouble cutting straight lines in stained glass. They’re unforgiving, not like curves! I’m going to take you through cutting straight lines with a ruler first and freehand second.
Try both cutting techniques and see which suits you best.
If you struggle with any of the basic stained glass techniques – cutting, soldering or polishing – my Stained Glass Made Perfect course will guide you in the right direction.
Or so says Suzanne Zaw, a recent ‘Made Perfect‘ student 🙂
I learned SO MUCH from you, about how to use different angles of soldering tip, and using bead method for making soldering easier, that trying to get the bead right with too slow speeds and lots of lumpy soldering in my life before your course!
Cutting Stained Glass With a Ruler
Best Ruler
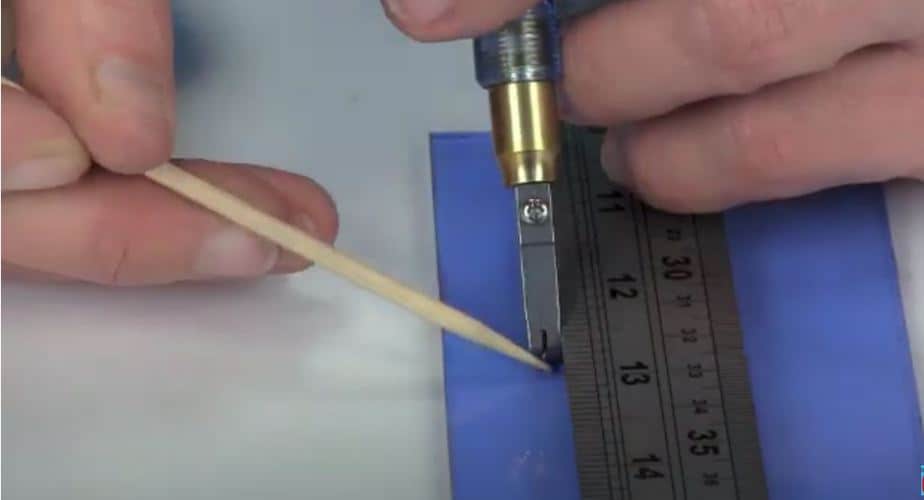
It’s important to remember:
- the ruler needs a little bit of height so that the cutter head stabilises itself against it (see photo, below)
- the ruler needs to be non-slip so that it doesn’t move when you make the score
Cork-backed rulers both have a bit of height AND are non-slip. This means that it holds steady while you use them. Amazon sell one here (paid)
Another alternative is to make your own with self-stick rubber pads like this: Rubber Pads (paid, thanks 🙂 )
Simply stick them along the underside of a metal ruler in a zig-zag formation. This gives height and stability.
Cutting Technique
- Carefully place the ruler on the glass right along the cut line, taking the little gap between wheel and cutter into account. It needs to be about 2 millimetres or 1/16″ away from the line.
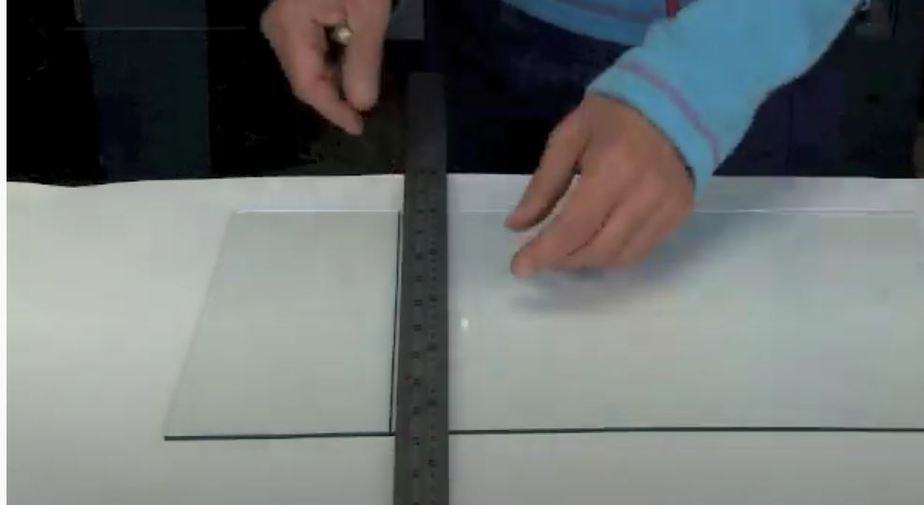
- Spread your non-cutting hand nice and evenly along the ruler
- Pull the cutter towards you in one fluid motion while pressing down. The head of the cutter should be tilted a tiny bit towards you, never tilted to the left or to the right.
You don’t have to be especially fast, just make sure you maintain a steady speed and pressure. - It’s worth noting that you can also push the cutter away from you, rather than pulling it forwards. Whatever suits you best!
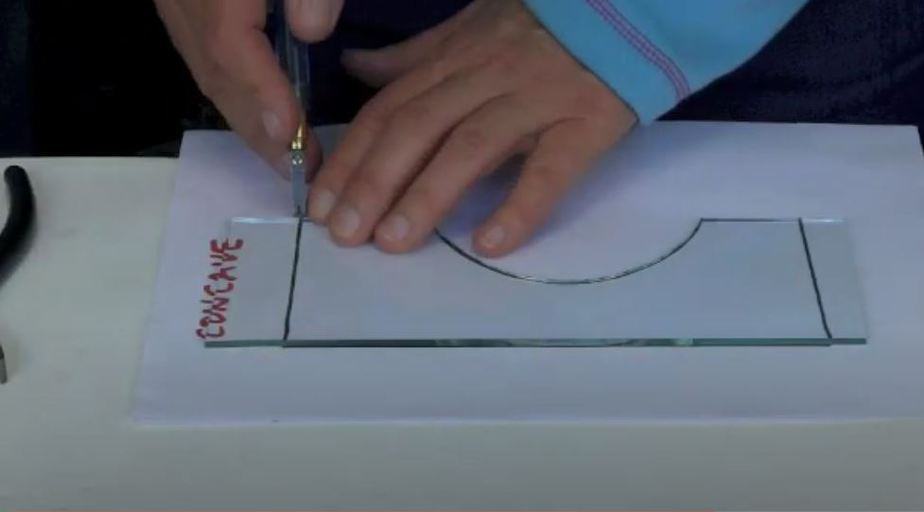
Freehand Cutting Technique
Let’s have a look at the cutting technique used for freehand work.
[00:02:05.990]
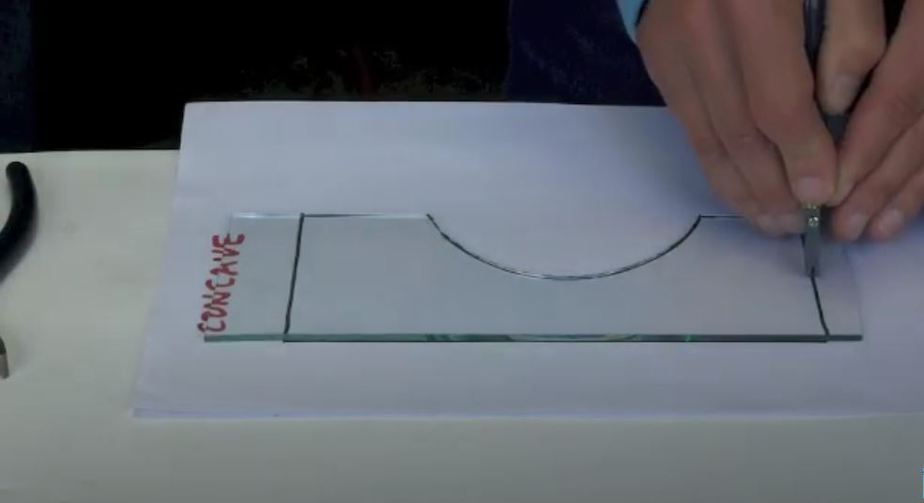
- Start the cut about 2mm from the edge.
- Push the cutter away from you at a steady speed and pressure.
- Keep checking that the wheel is staying on the line.
- You can’t pull the cutter with this technique as you can’t see the line!
Some people prefer using a ruler for cutting straight lines and some people prefer freehand. It’s entirely up to you.
Go here for more cutting tutorials: https://everythingstainedglass.com/how-to-cut-glass
Short straight cuts are a breeze.
How about a LOOOONNNGGG straight line??
I’m having a lot of trouble with this!
Thank you
It’s the same principle Sue. If anyone else can add anything, feel free.
Love everything about you and this “new” hobby” Thk you for showing all of us. Best wishes.
Aw, I love hearing about new converts Earlene. Thanks for sharing your enthusiasm 🙂
Hi
I’ve literally just started and every time I cut I don’t get a clean break! Why? I am using nippers that was supplied with no plastic on the edge. Could this be the reason?
It sounds like you’re not pressing hard enough Sue. The grozer/breakers don’t come with the plastic jaw cover, that’s the Cut Runners, so it’s not that, no.
Have you seen my video about cutting pressure? It might help:
https://everythingstainedglass.com/key-perfect-scoreline
Love your weekly tips. Thank you.
You’re more than welcome Charon, I’m glad you find them useful.